Hello and welcome to the first week of the
2015 New Quilt Bloggers Blog Hop!
If you’re new to my blog, let me introduce myself. My name is Sarah and I’m an easy-going, glass is half full, whatever floats your boat kind of person; and I find it incredibly difficult to write these types of “intro” posts. They always make me feel self-serving or like I’m at an addict meeting. To be fair though, I probably SHOULD be at a Quilt and Fabric Addicts Anonymous meeting. (Shouldn’t we all???) (I want ALL the fabric!) So here are the bare bones, nitty-gritty facts: I’m in my early thirties, I live with an amazing man (no kids…yet), and I’m a stay-at-homer currently from North Carolina, USA.

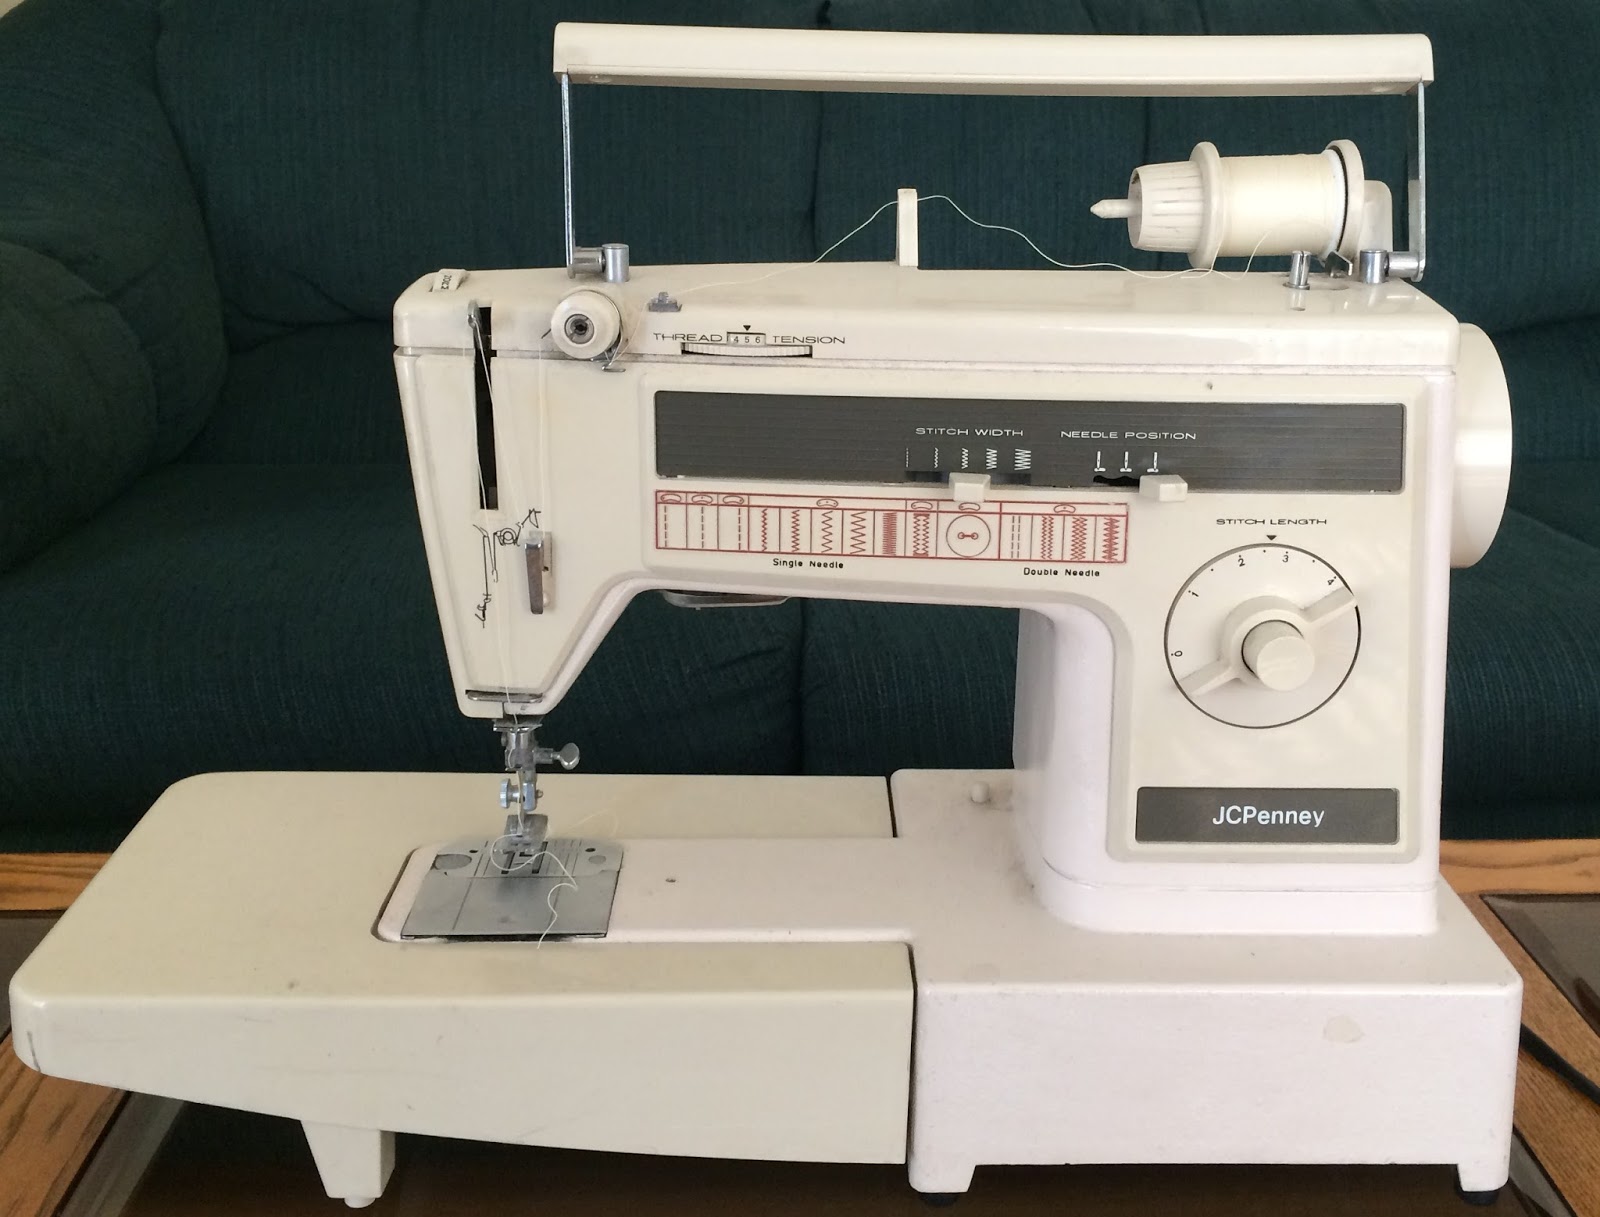
I think I learned to sew when I was 6, 7, or 8ish years old. I can distinctly remember my mom teaching me how to thread her old JC Penny sewing machine, which is odd because that’s the only time I ever remember her using it. So I learned that much at least from my mother. I made up the rest as I went along. As a kid I was constantly crafting: sewing doll clothes, weaving loop potholders on that plastic loom thingamajig, pretty-punch (does anyone even remember that?!), cross-stitching, crocheting, latch hook (anyone?), etc. You get the point.
 |
| The Old Workhorse |
It wasn’t until my teenage years that attempted my first quilt. I do not come from a crafty family so this attempt was met with a few sideways glances but I went to the store, got some fabric, and began a love affair.
 |
| My First Quilt |
Since then, I quilted on and off until about 2010 when I started getting really serious about it. I had two new nephews on the way and naturally they needed baby blankets. I really think that baby quilts need to come with a warning: “This is a gateway quilt into a life full of fabric and sewing addiction!” Ha! I didn’t document many of the things I made pre-blog but here is a small sampling of some pics I rustled up.
 |
| Pre-blog Work |
Those were all things quilted for other people. Right now I’m really focused on quilting for myself and I think my more recent projects show my quilting style a little better.
Like this mini I recently made. LOVE IT! Blogged about
here and
here.
 |
| Simple Celestial Mini |
 |
| Simple Celestial Mini |
Here is my most recent top in all its bright and cheery glory. I can’t wait to start some FMQ on this one! Blogged
here.
 |
| Reverse Irish Chain |
My Xbox and Botox quilt is also waiting for some FMQ love. It’s on the never-ending to-do list. Blogged
here and
here.
 |
| Xbox and Botox |
In the spirit of the
2015 New Quilt Bloggers Blog Hop I thought I share a few tips with you!
BLOGGING TIP
Have you ever wondered how to add those great html grab code boxes under one of your buttons? Oh, you have? Me too! Check out my blog button on the sidebar to see an example of a grab code box. I tried a few different ways and found an easy way to do it. If you’re familiar with adding a button to your side bar you should have no problem adding a grab code box. All we are going to do is add some <textarea> code. This will add the box and then
whatever you want in the box is placed between the <textarea> elements.
Trust me, you can do this.
Step 1: Add the html for your button like you normally
would.
Step 2: Then add this. <textarea rows=”3” cols=”20”><YOUR
BUTTON HTML CODE></textarea>
Step 3: IMPORTANT!!! You have to change the < and the > in YOUR BUTTON CODE to its alphanumeric equivalent or this won’t work. What that means is every < in YOUR BUTTON CODE ONLY needs to be changed to < and every > to > for example:
<textarea rows=”3” cols=”20”><YOUR BUTTON HTML
CODE></textarea>
NOTE: most button links have four < or > to change.
Also, you can change the width of the grab code box by changing the cols=”XX” number. Have fun and play around!
I really hope that made sense, if not just send me a message and I’ll help you through it!
QUILTING TIP
This is a much easier tip, I promise. If you are like me and don’t have space for a permanent design wall, you can use a temporary one. Here is a picture of mine.
 |
| Reverse Irish Chain up on the design wall |
I hang up some batting with pant hangers hung over the door frame. That’s, um, that’s the door to my bathroom… my only bathroom. So my design walls have to be really temporary; as in they can’t stay up for more than an afternoon! I need a way to keep individual block components together after I figure out where they go on the wall. My solution, and my quilting tip, is to (carefully and in a very organized fashion) transfer each block and it’s components to blank pages. Each block gets its own page and all the pages stay in a particular order. This method helped tremendously on my last quilt.
 |
| Each block with its own sheet |
I have to admit that while I enjoy all the parts of the quilting process, except basting (who likes basting?! Seriously?) my favorite part of the process is the initial design phase. I’m a nerd and I love the math. There, I said it. If you ever catch me staring off into space, odds are I’m doing some calculations in my head. I always keep a notebook and graph paper handy so I can write down my designs as I’m inspired. Guilty confession: I have over 150 quilts/quilt ideas on my quilty bucket list. (I hope they have donuts at the Quilt and Fabric Addict meetings).
So I have two questions for you! What is your favorite part of the process and how many projects are on your bucket list?
A FEW RANDOM FAVORITES
Favorite Movie: Bill and Ted’s Excellent Adventure (because I like History, lol)
Favorite TV Show: Jeopardy
Favorite Food: Birthday Cake
Favorite Animal: Elephant
Favorite Book: … IDK, I read them all! Currently re-reading the Stephanie Plum books.
Thanks so much for stopping by my blog today! Please hop over to some of the other blogs in the
2015 New Quilt Bloggers Blog Hop. I’m in the
New Bees Hive and here are the links to some of the New Bees who have posted today!
Ashley @
Crafty Ashley B
Gayle @
PedalSewLightly
Hayley @
MooBirdStitches